The purchase Event in Google Analytics 4 (GA4)
The purchase event in Google Analytics 4 (GA4) is used to track when a user has successfully completed a purchase on your website or in your app.

In most setups, it’s the most critical e-commerce event because it measures revenue. The purchase event belongs to the e-commerce events in GA4, meaning it can be equipped with additional parameters like items and value to capture detailed product information. This allows GA4 to track not only that a customer bought something, but also which products.
purchase plays a unique role in GA4:
- The pre-built reports displaying key metrics like revenue, number of transactions, average order value, and similar figures draw their data from the
purchaseevent. - It’s always automatically marked as a key event
Tracking new customer status
If your shop has customer accounts, you can also use the purchase event to identify new customers as opposed to repeat customers. You can use the user_id parameter to uniquely identify the customer. By doing this, you can track in GA4 how many new customers you’ve acquired and how their behavior differs from existing customers.
This is also helpful for ad targeting: You might want to address new customers differently than existing ones, or you might be willing to spend more money on acquiring new customers.
Implementation
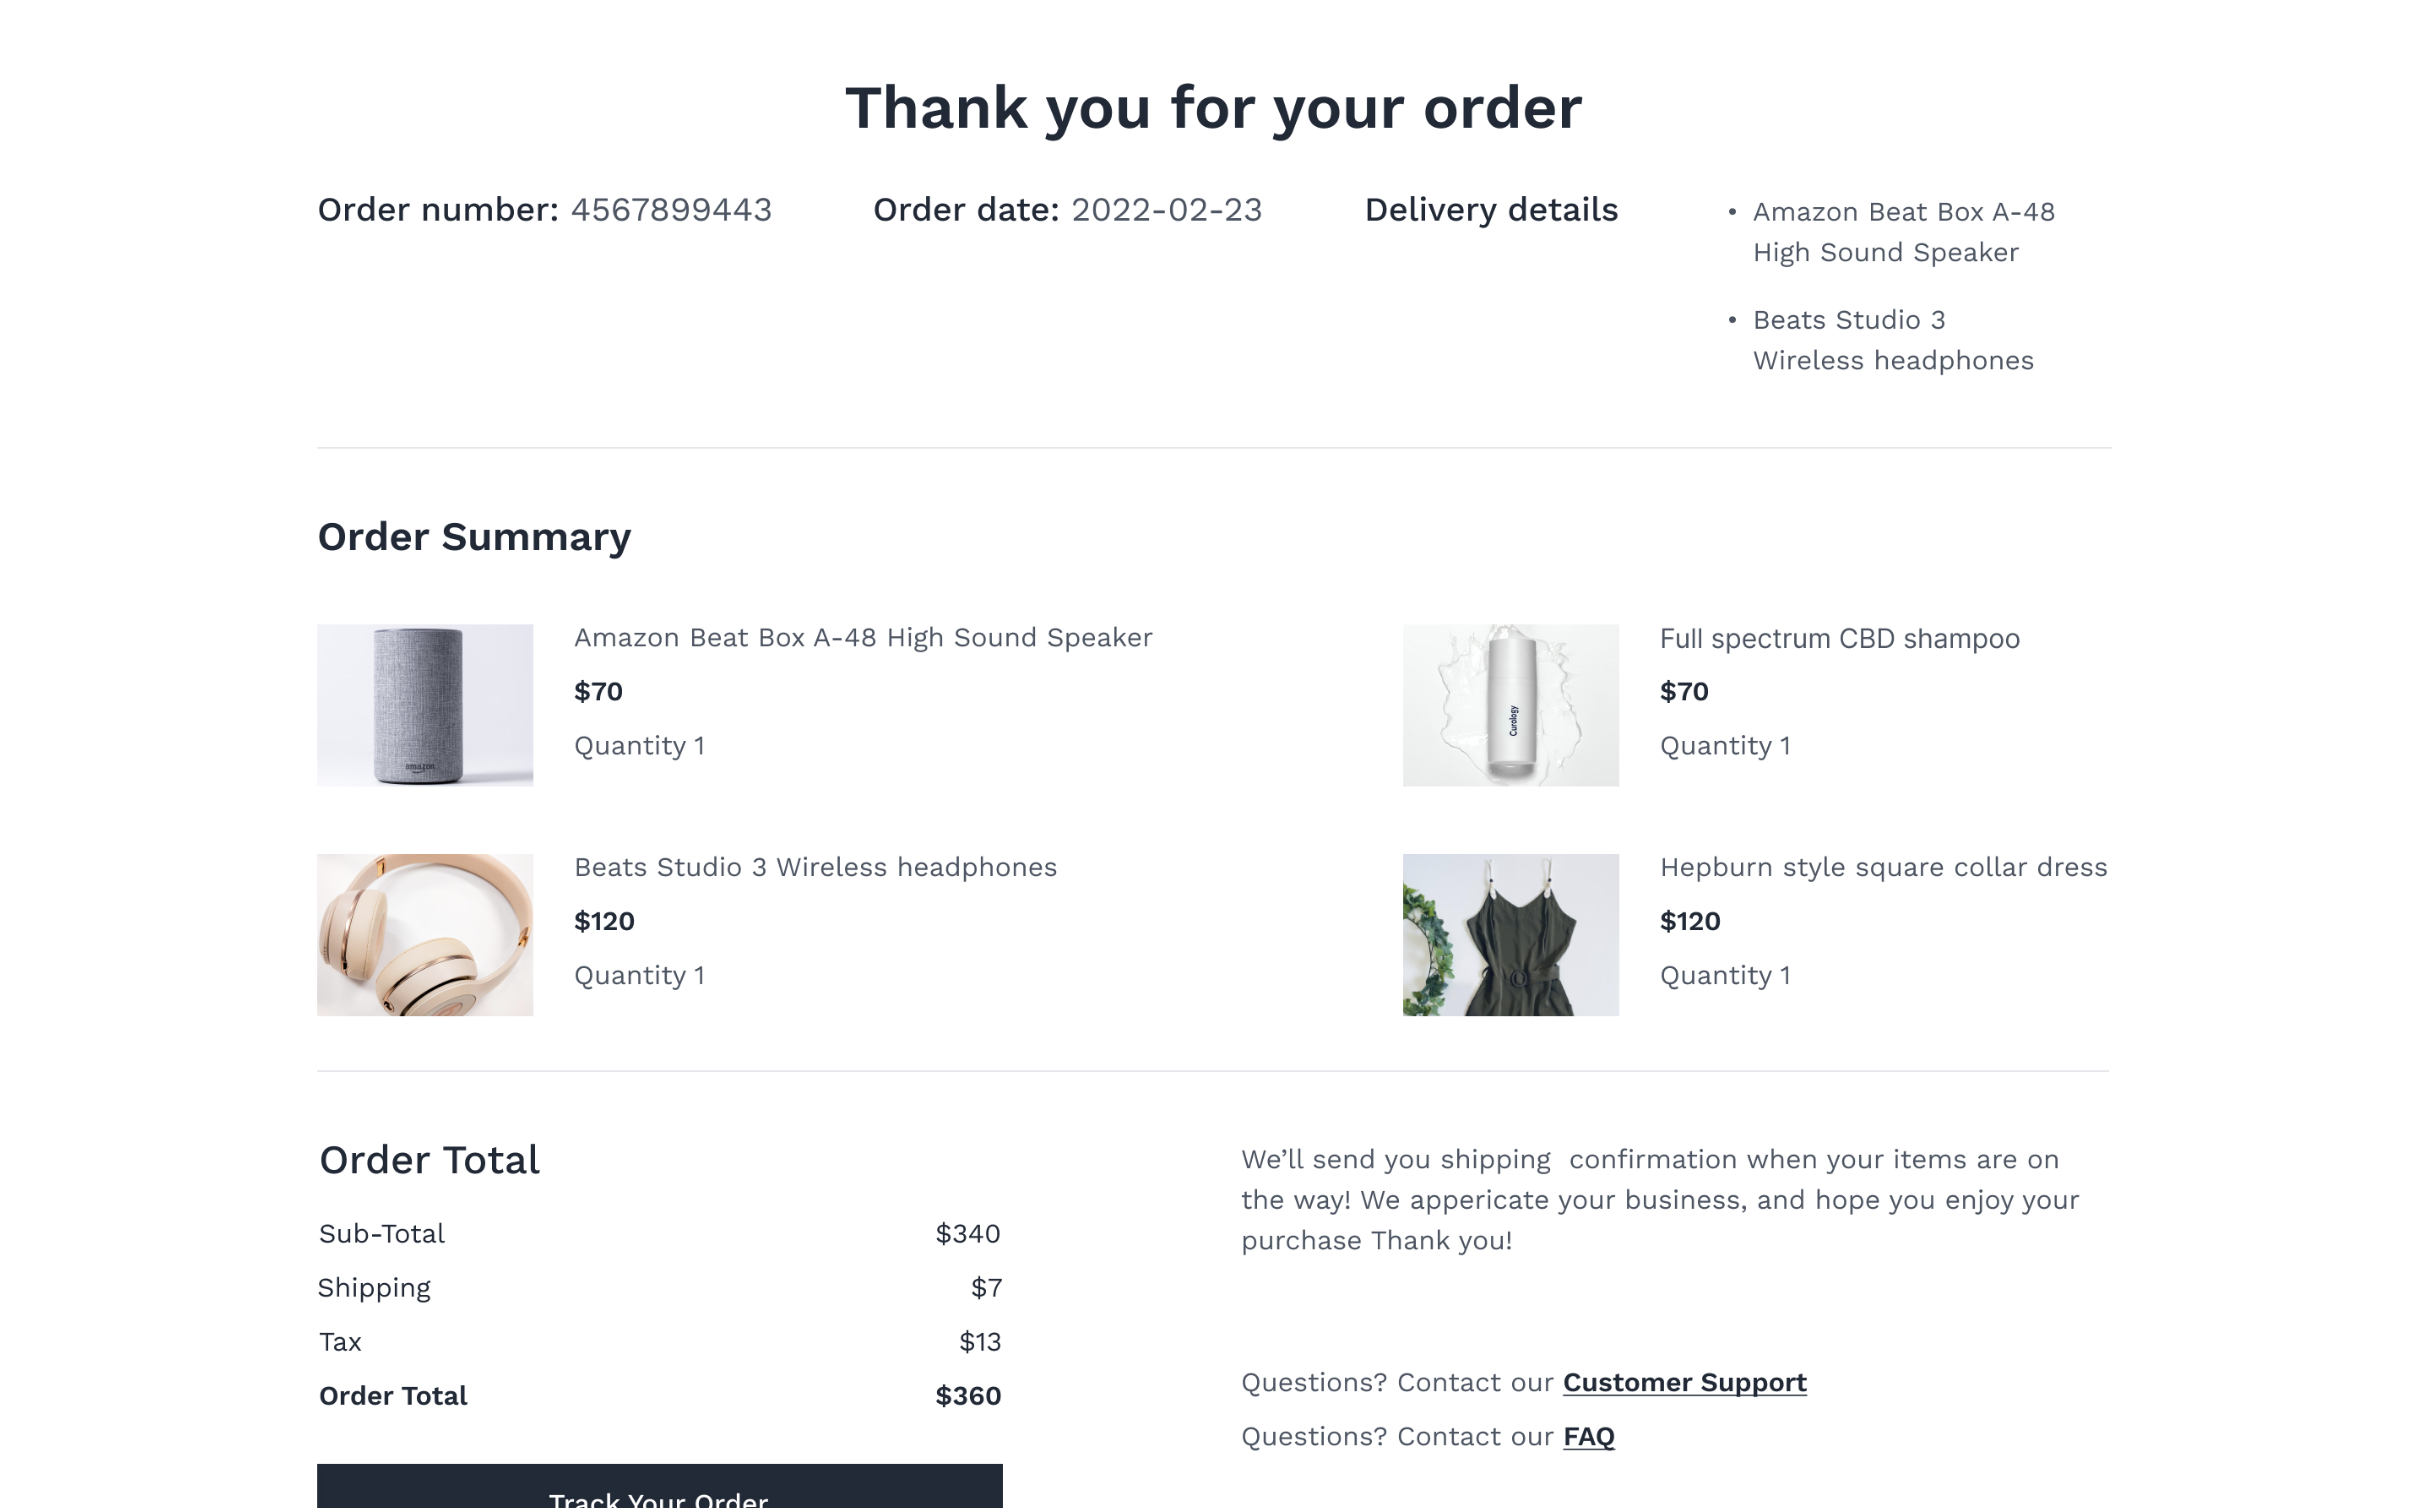
The best place to trigger the purchase event is actually the order confirmation page, i.e., the page the user sees after completing the purchase.
Price & revenue information
As with other e-commerce events in GA4, it makes sense to provide the net price without included VAT or sales tax in the value parameter at the transaction level and price parameters at the product level.
Taxes and shipping costs are then passed separately in the tax and shipping parameters, keeping them cleanly separated from the more relevant net revenue.
dataLayer
window.dataLayer = window.dataLayer || [];
window.dataLayer.push({
    event: "purchase",
    ecommerce: {
        currency: "EUR",
        value: 123.45,
        transaction_id: "T12345",
        shipping: 5.90,
        tax: 19.90,
        items: [{
                item_id: "SKU12345",
                item_name: "Superfood Powder",
                item_category: "Superfoods",
                item_variant: "500g",
                item_brand: "MySupplements",
                price: 29.90,
                quantity: 2
            },
            {
                item_id: "SKU67890",
                item_name: "Superfood Capsules",
                item_category: "Superfoods",
                item_variant: "90 Count",
                item_brand: "MySupplements",
                price: 34.90,
                quantity: 1
            }
        ]
    }
});
Event parameters
| Parameter | Data Type | Description |
|---|---|---|
currency |
String | The currency of the revenue, e.g., “EUR” or “USD” |
value |
Number | The revenue of the purchase, e.g., 123.45 |
transaction_id |
String | A unique ID for the transaction, e.g., “T12345” |
shipping |
Number | The shipping costs of the purchase, e.g., 5.90 |
tax |
Number | The taxes of the purchase, e.g., 19.90 |
items |
Array | An array of objects describing the purchased products |
Tracking Profit instead of revenue
A particular advantage of server-side tagging is that you can modify the event data you send to the final destination. This is especially useful when you want to track profit instead of revenue. Information about your product margins is likely confidential and shouldn’t end up in the user’s browser, where a motivated competitor could potentially read it.
If you send your profit instead of your revenue to Google Ads, Meta, TikTok, and others, you’ll have a much easier time optimizing your campaigns because you can immediately see at a glance whether your campaigns are profitable or not.
As long as you work with revenue values, you’ll likely have a flat ROAS target (return on ad spend, e. g. “our campaigns must return 3x their campaign budget in revenue”) across all products, where you can be reasonably confident that you’re working profitably. But that’s just an approximation whereas tracking individual product margins is more accurate.
